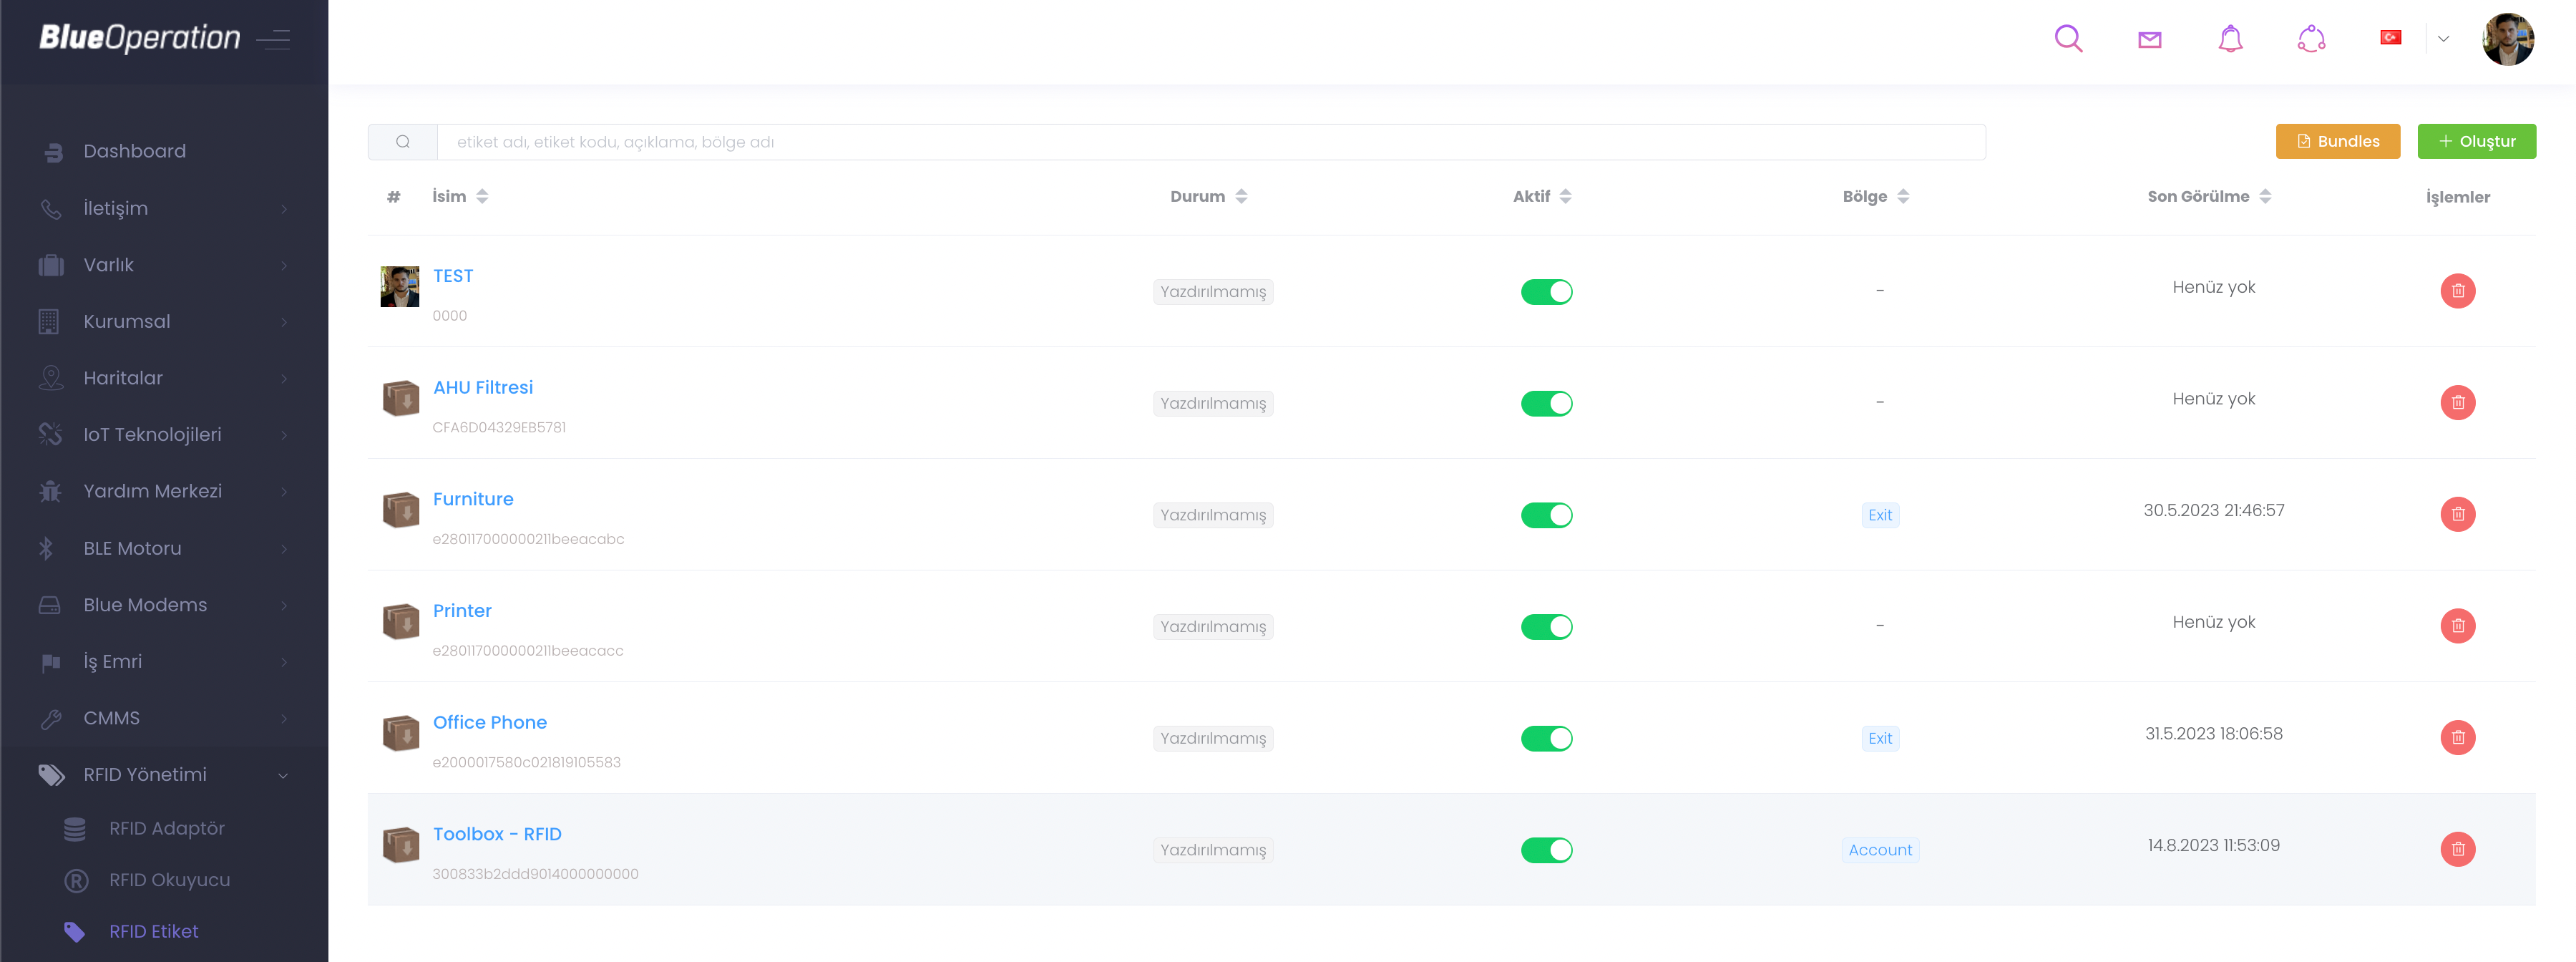
RFID Tags
The RFID Tag section provides a structure where you can view and manage the tags you have defined.
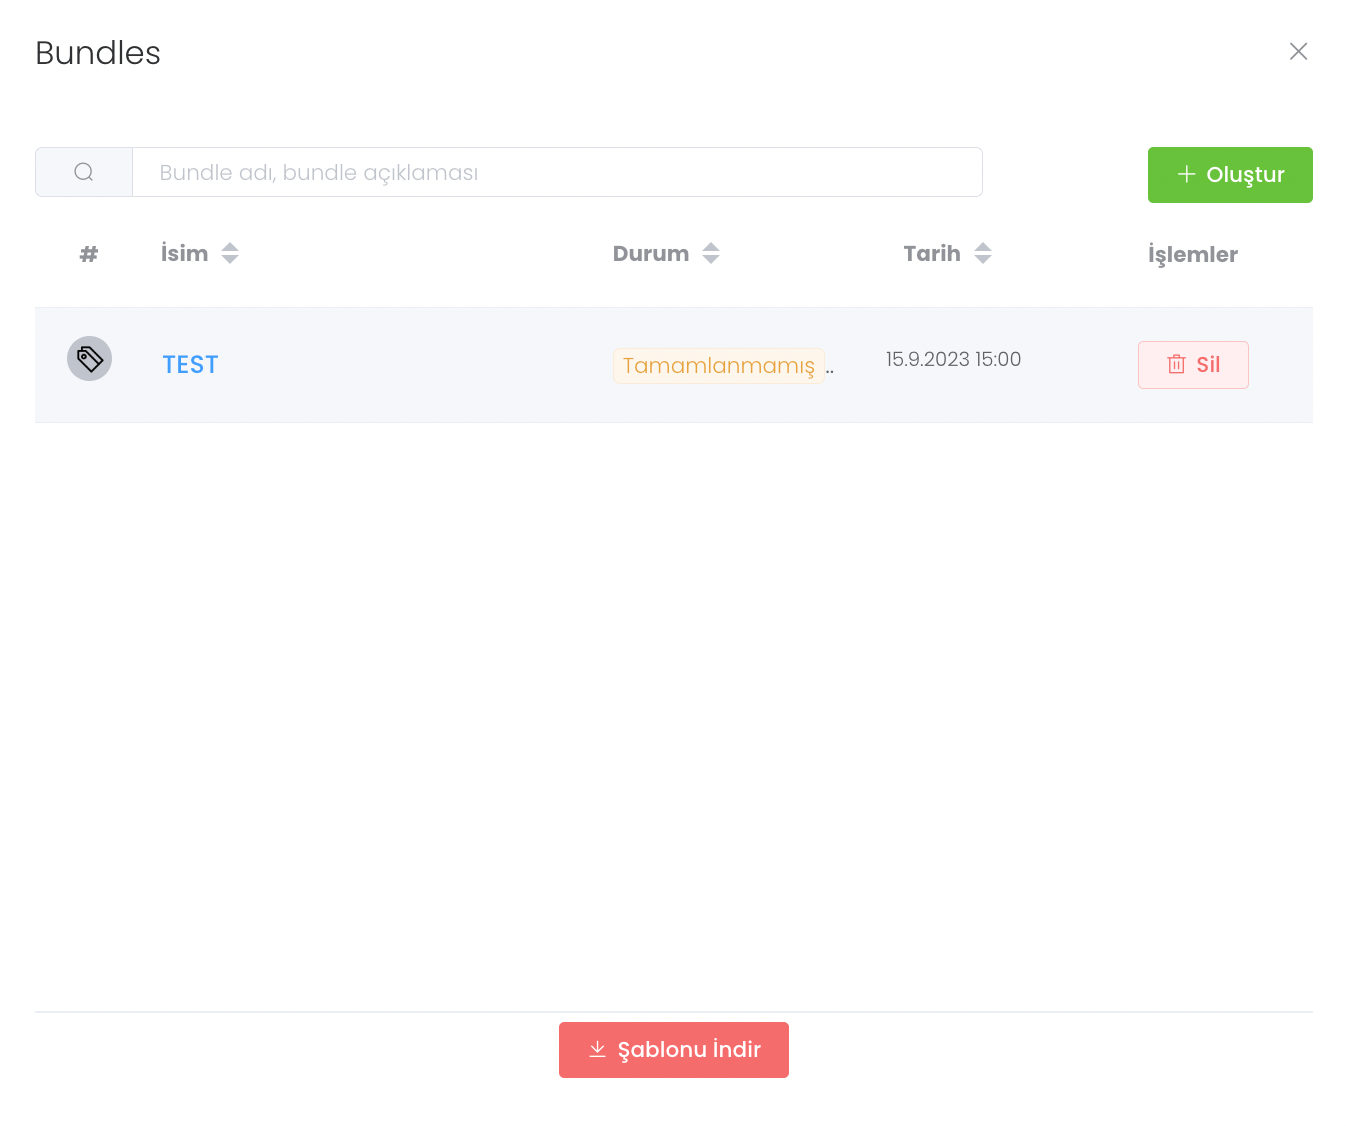
When you want to Add a bundle, click on the Bundles button and you will be directed to this panel. When you click on the "Create" button, you add a new bundle`.

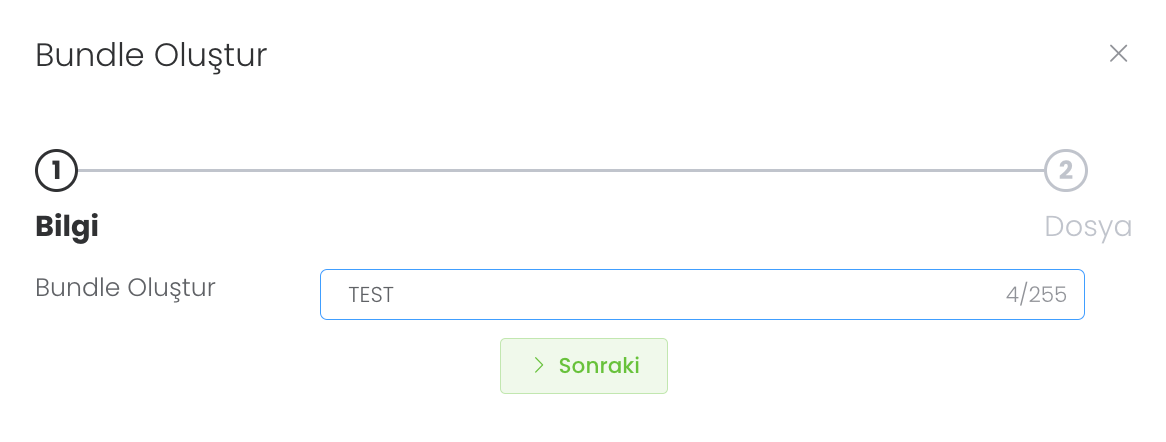
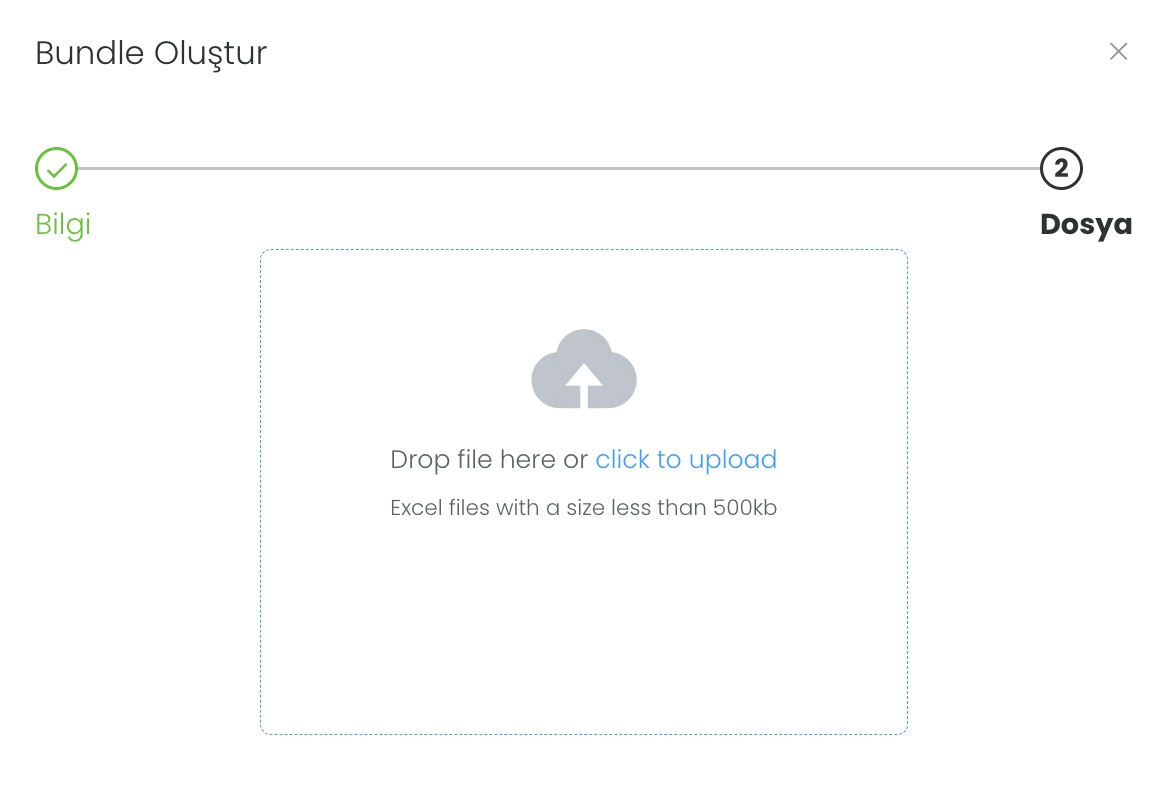
Specify a package name for Bundle creation and click next.
In the Information section you upload an Excel file.
The contents of your uploaded file are uploaded to the system and the successful and unsuccessful packages are separated and made available for your management.
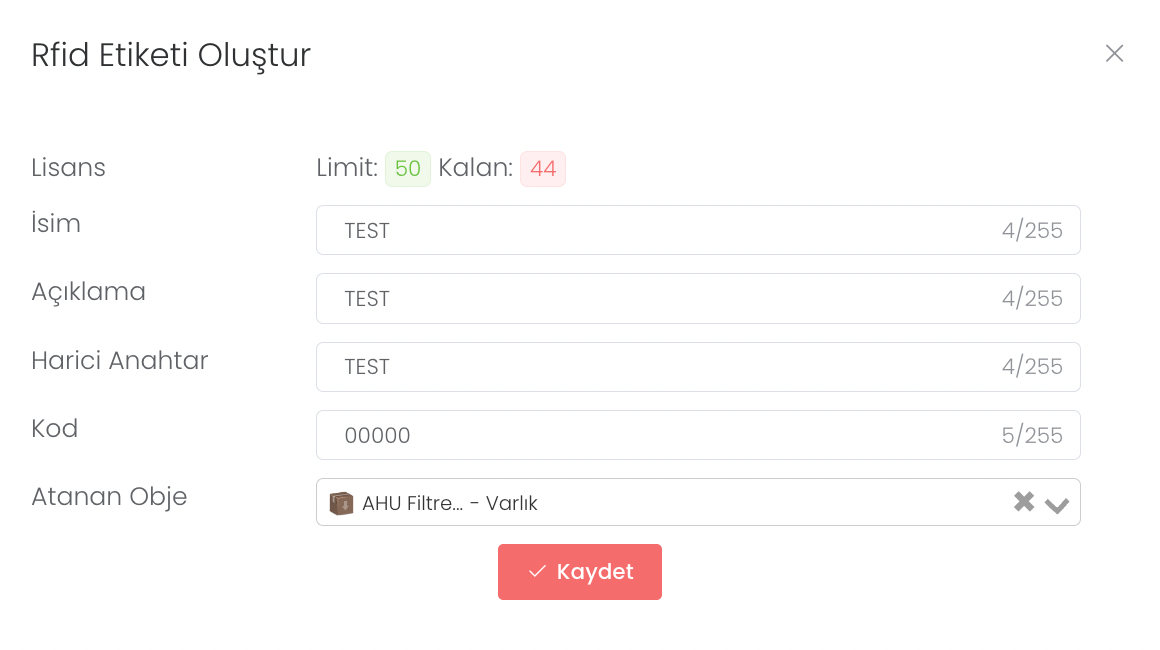
When you press the "Create" button, after specifying the available licence number, name, description, external key, code and object to be assigned, click the "Save" button. This is the RFID Tag Creation process.
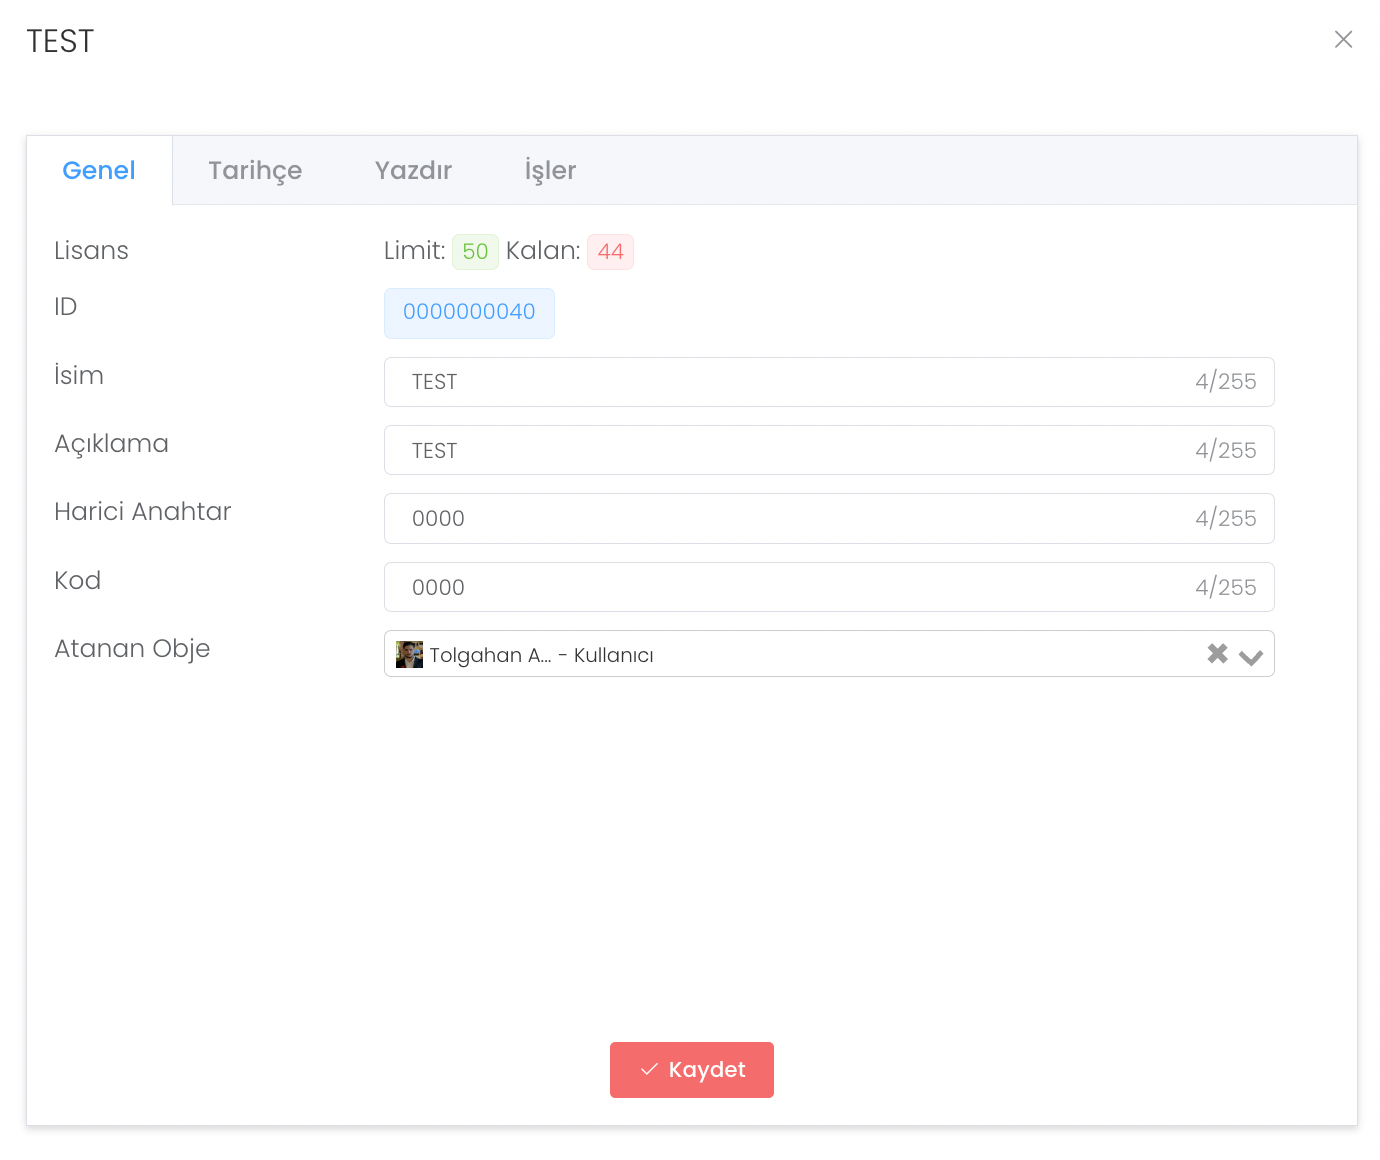
When you click on the label you have created, there is a "General" section where you can update the contents you previously set.
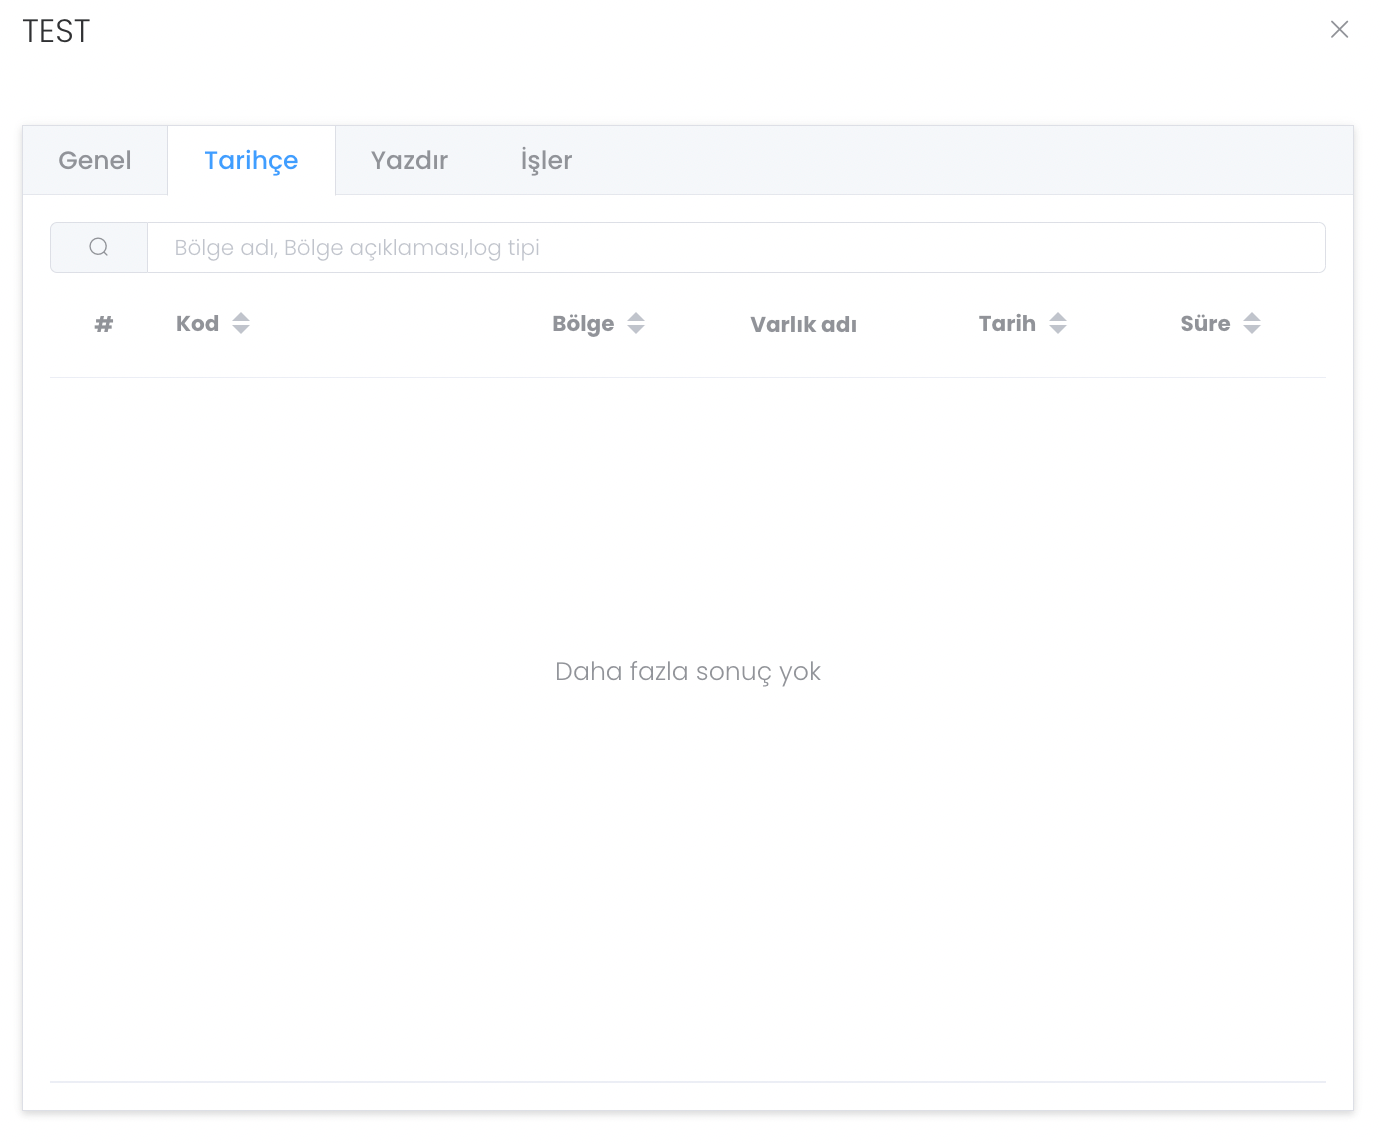
History provides a structure where you can see all the states of the tag you have created during the time it has been used.
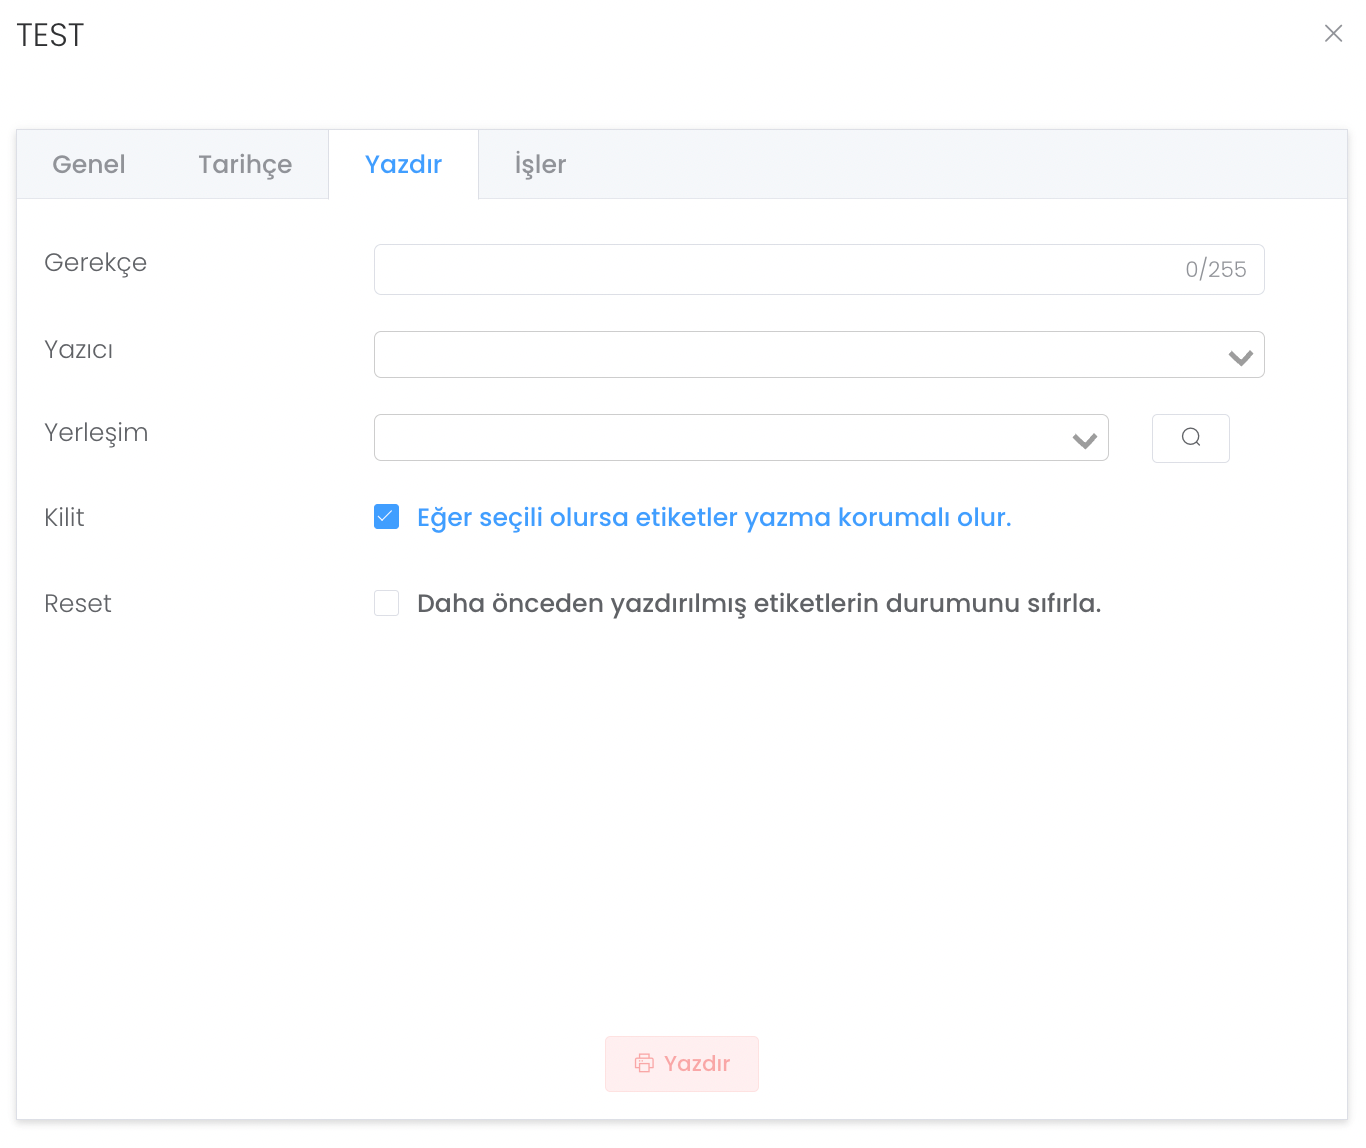
Print is the area where you can set the settings to export the label you created at any time. In this field, after setting the properties such as reason, your current printer etc., you can perform this operation by clicking the Print button.
Works is the area where all the works done during the time the tag you created is used are kept.